WordPress Plugin Installation
Installing a commercial paid-for plugin from a zip file for the first time can be a little confusing. A WordPress plugin installation from a zip file using the WordPress dashboard is quite simple once you know how. This guide should prove helpful, but it is not for WordPress.com customers, it is only for self hosted installations of WordPress from WordPress.org.

First go to Plugins > Add New.
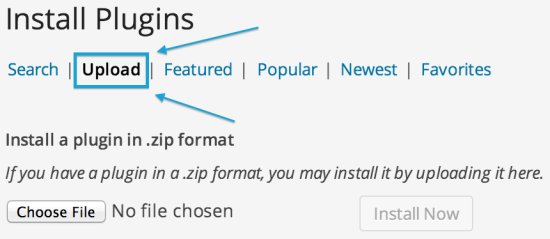
The search link is to find free plugins on WordPress.org. Click on the Upload link.
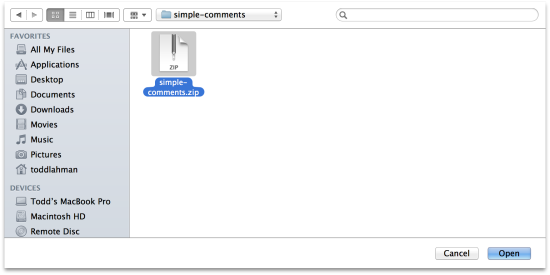
Now select the plugin zip file to install.
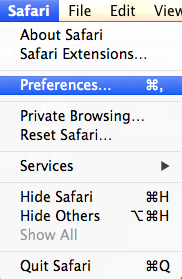
If you don’t see a .zip file, but only see a directory you will not be able to complete the installation until you find the zip file. If you are using the Safari web browser, go to Safari > Preferences.
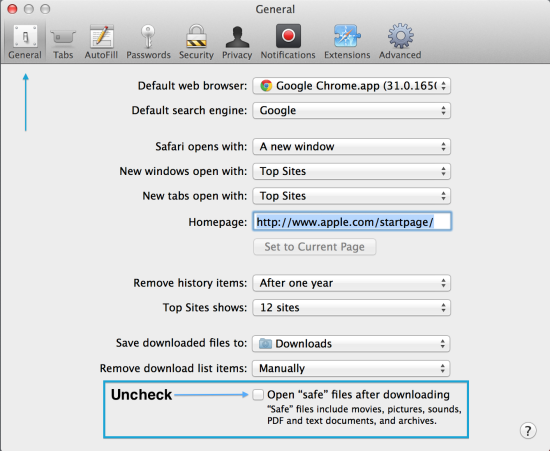
Under the General tab of Safari preferences, Uncheck the box for Open “safe” files after downloading… This will prevent Safari from opening the plugin zip file after it is download, so it will remain a zip file that can be uploaded to WordPress, and will not be converted to a directory that cannot be uploaded to WordPress.
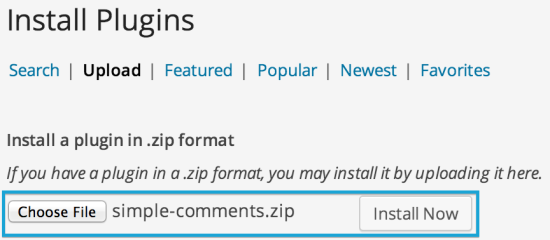
Once you have selected the plugin zip file click the Install Now button.

If the installation completed successfully you should see the screen above. All you need to do now is click the Activate Plugin link.
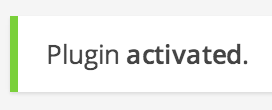
Now you can edit the plugin settings. The plugin settings can be under Settings, have their own top level menu link and icon, or the settings could be under another top level menu item. Consult your plugin’s documentation for more information about the configuration settings for your plugin.
